Miss the first part? Check it out here.
With all that said and done, I’ll move onto the most significant heavy-lifting that occurred during the rework of For the Crown – the mechanics which were changed or simplified, but still retained as part of the game.
 Team Sizes

I’ve experimented with team size a fair bit in the past, as well as the use of players as resources. For the Crown was meant to mix some of the concepts that had worked in previous designs. Namely; the use of players accessing different parts of the game at the team’s discretion (As the Fire Dies, inspired by God Emperor); and having teams of different sizes to reflect their power, reach and agility (Brave New World).
In the original For the Crown, half the teams had only 2 players – tiny nation-states and minor noble houses – and the other half had either 4, 5 or 6 players depending on their placement in the world.
The idea was for the larger teams to have a harder time communicating and coordinating, but ultimately be better off by having more hands to apply to different tasks. The smaller teams, conversely, would require far less internal discussion and agreement, but had very finite human resources.
I don’t think this idea failed at all – it achieved its purpose and, while players on the larger teams might argue it just led to occasion spells of boredom, I think the impact I had hoped the design would have on the small teams was realised throughout the day.
Through redesign, though, I found the definition of roles in those larger team cumbersome and often duplicative, and I found the distinction between roles and duties in the smaller teams barely worth defining.
In version 2, most teams had 3 players (to stretch over the 3 major jurisdictions) and a few select, powerful teams had 4.
(Note: following the high level of ticket sales, the second run of the game ended up accommodating 4 players on every team, levelling the playing field. The game still ran well.)
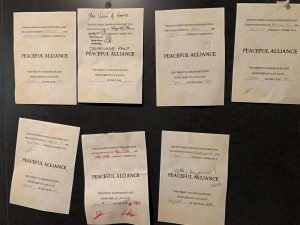
Treaties
Similar to Nobles, Treaties in the game were inspired heavily by the mechanics of Total War games – teams had a number of different levels of diplomatic and military treaty they could engage another team with, each with its own benefits and accountabilities.
A non-aggression pact, for example, simply brokered agreement between two teams that they would not engage in hostilities against one another. A more mature Military Alliance, though, bound two teams together through thick and thin – they would share wars and be forced to help one another should they come under siege by an enemy.
Teams could only advance up the hierarchy of treaty types if they had met the prerequisite. Creating a new treaty with another team was also something players could only do once a turn. This naturally added some longevity to the development of treaties – for two teams to go from neutrality to a fully-fledged military alliance would take 3 or 4 turns, a good third of the game.
Treaties, in practice, fell over in two areas:
- The repercussions for breaking them were too light, or simply misunderstood; and
- For the value they gave players and teams, it often felt more effort to keep track of them than they were worth.
While I think there is merit to the system we had in play, I suspect it’ll need to be beefed up for future use, with far more emphasis on the political and military ties between allied teams.
In version 2, team relationships were simplified down to being neutral toward one another, allied (and thus militarily indebted), or at war.
Resource Income
Resourcing in For the Crown was by far the most contentious part of the game – not due to its complexity (though it does have some), but rather due to how cumbersome it was to get resources moving in the time required.
There were, and still remain, six resources in the game. Of those, four are directly obtained via territory control on the map – gold was generated via taxes, based on the number of settlements a team owned; and timber, metal and food were gathered from lands surrounding those settlements, provided the same team owned them.
Not only was it difficult to keep count of the different territories on the map, but many resources were only activated once a nearby settlement had the right infrastructure built in it (for example, Farms were needed to produce nearby Food).
All of this, while typical of a 4X style video game or strategy board game, was simply too cumbersome for such an immense Megagame.
The need for Infrastructure was only complicated by the fact that teams had almost 20 different buildings to choose from and, due to administrative issues during setup, most teams didn’t start with the types of infrastructure they really needed to get the resources rolling in.
In version 2, resource yield from the map was much simpler. Teams gained resources each turn based on the territory they owned, regardless of its location on the map. Infrastructure no longer impacts resource yield (see below).
Infrastructure
As mentioned above, Infrastructure was a cumbersome part of the game mostly due to a wide selection of choices available to players. Teams had almost 20 different buildings to construct in their settlements, each quite costly and all adding some kind of bonus to the land.
Some were simply resource producers, while others generated new tax, allowed the production of naval vessels, and even helped decrease Unrest in the surrounding lands.
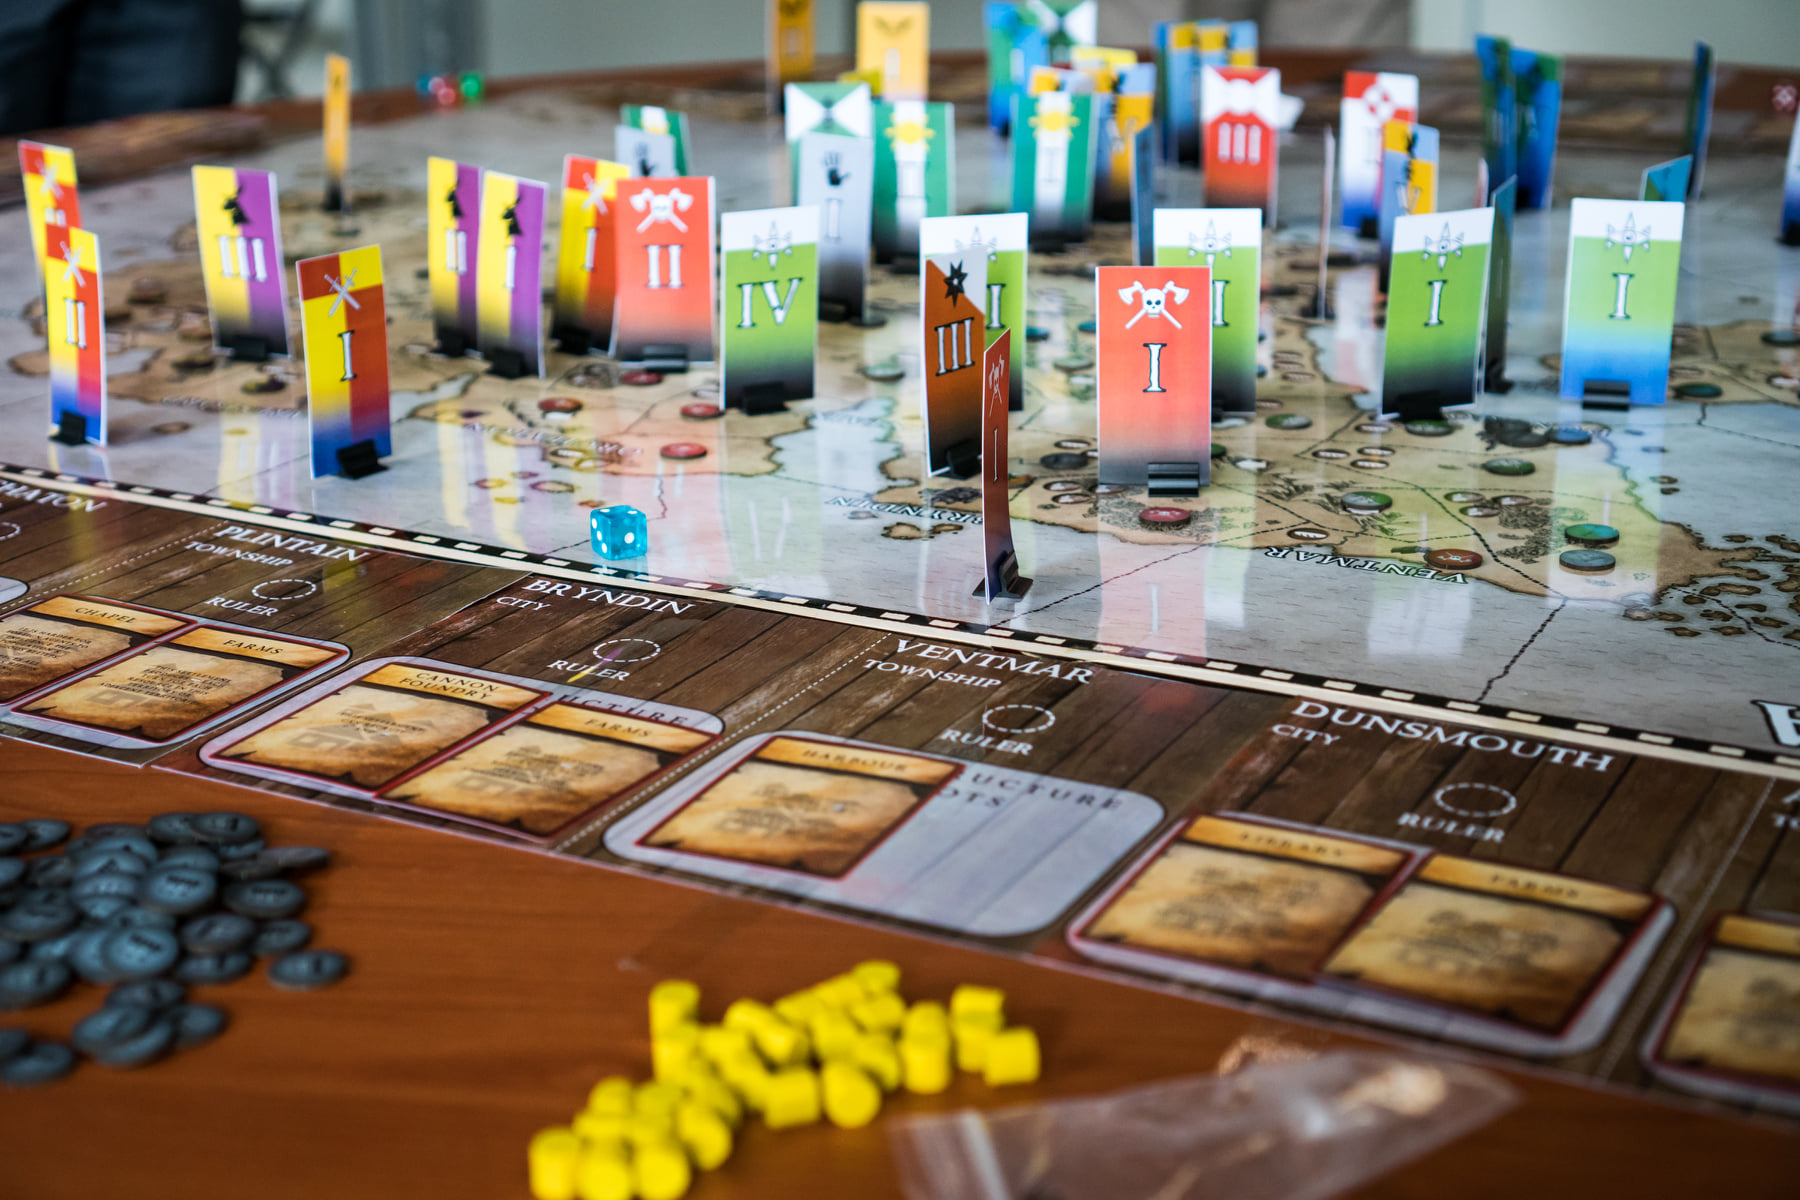
Physically, infrastructure was tracked by cards that were placed around the Map table, each aligned with the settlement they’d been constructed in. It all got very busy, very quickly, and players were very rarely engaging with the construction of new infrastructure (partly due to the cost and partly due to the complexity) once they had the bare basics.
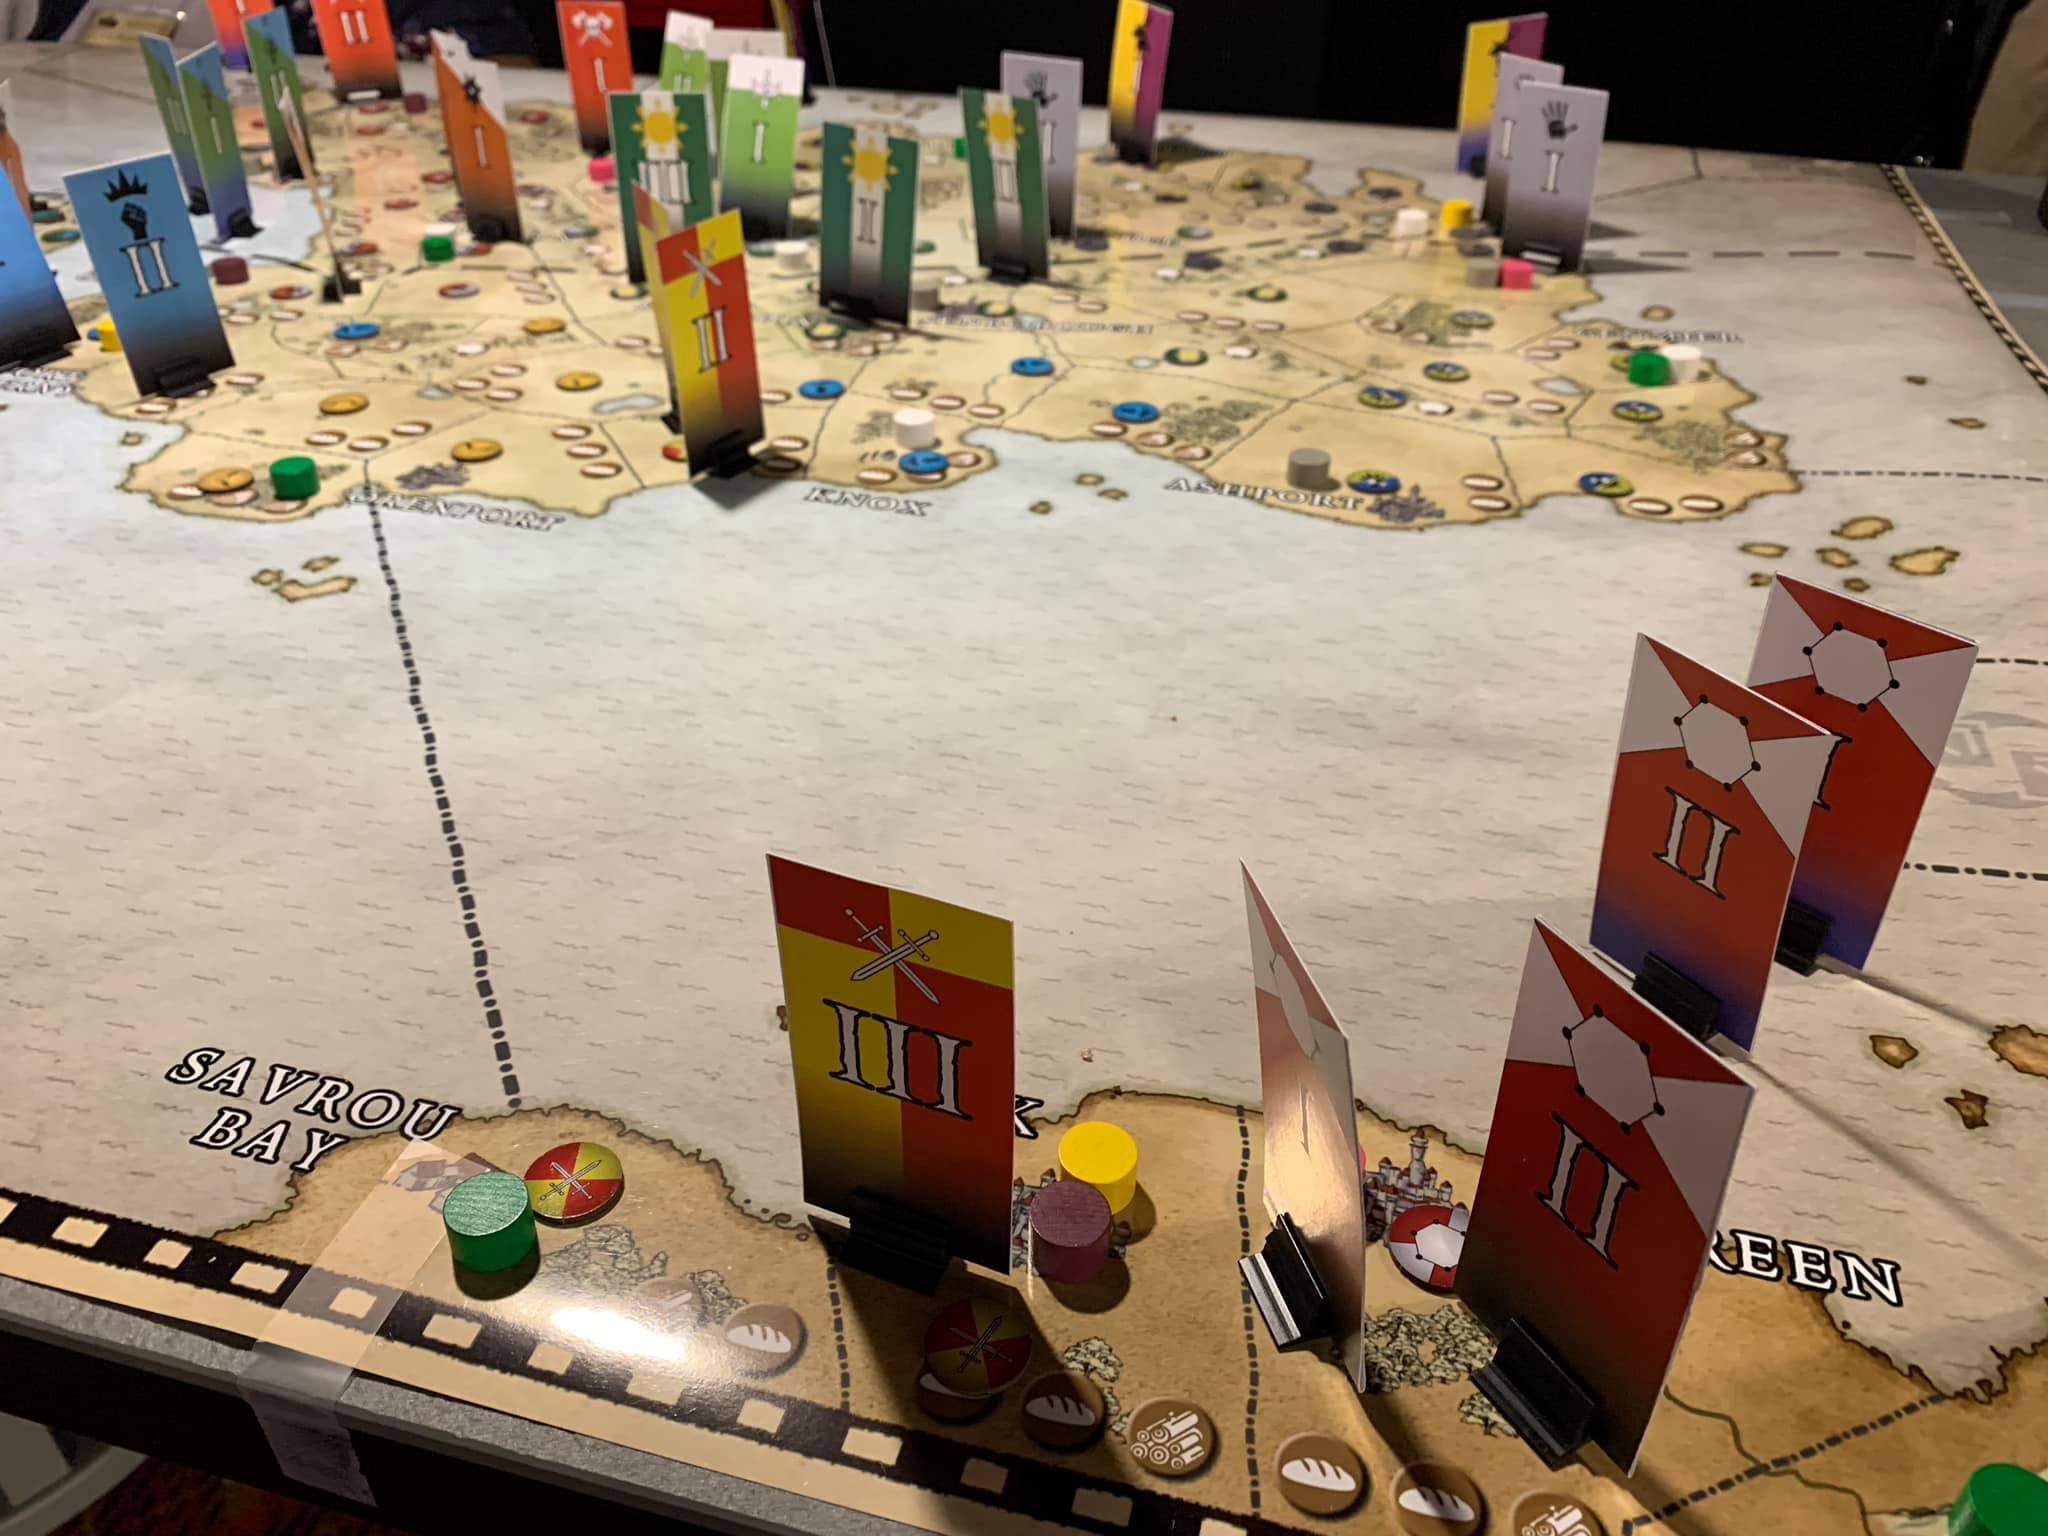
In version 2, Infrastructure was simplified down to only 7 building types. All buildings were placed on the map, represented by small coloured cylindrical markers, and there was no limitation to how many could be constructed in a settlement (besides the owning teams’ coffers!)

Naval Movement
Naval Operations were regrettably overlooked in the original design of For the Crown – while their purpose was clear, the mechanics ended up being far too punishing to be of use to a lot of players.
Due to the design, the main use of navies was to ferry land-based military units to a new location. Doing so was risky, as losing your fleet through combat would instantly leave your soldiers at the bottom of the ocean, too.
Not only was the risk high, but the pay-off was low – landing troops in a new part of the world wasn’t always quicker by sea than by land (due to the ocean zones being similar size to land territories) and the outcome of winning a normal naval battle, where it was just ships duking it out with ships, was null – other than sapping resources from your opponent (and maybe flexing your military muscles), there was nothing to gain.
I feel naval operations was the biggest change to the core mechanics during redesign, and those changes are the ones I had most confidence in when Game 2 came around.
To address the first issue – that using naval forces as transports between locations was too high-risk/low-gain – I simply expanded the size of naval zones. The map went from several dozen to only a handful of zones, each bordering large swathes of coastline. This meant that moving armies from one side of the continent of Wruicia would now be far more efficient by sea, thus making the risk-laden voyage more meaningful.
To compensate for these changes to the map, changes needed to be made to the way navies move and interact with each other. Simply moving from one adjacent zone to the next, then engaging enemies in that location, was no longer going to cut it when the world was made so much smaller due to the large size of the zones. This was overcome with Action Points.
During an operational phase, navies could be given orders – to move, attack, plunder a trade route or setup a new one of their own. Of these four options, players could pick two (or, in the case of ‘move’, they could pick the same action twice). Most of these actions are self-explanatory – move to an adjacent zone, remove another team’s token from a trade node (see below), or add a token of their own to said nodes.
Attacking, on the other hand, was unique. Players needed to pre-empt the movement of their enemies and take advantage of the turn order (called Marching Order) to use the attack action wisely. Only at the end of the turn, when all navies had taken their two actions, were attack actions resolved.
This could mean the navy you intended to attack could have already departed by the time combat resolution should occur. Likewise, an attack action could be used to protect a zone from invaders – anyone willing to enter it after the attack token had been placed was risking getting assaulted by the enemy.
In version 2 of the game, naval movement and territory control became far more important – players could use navies to traverse the world very quickly, though at great risk, and there was more strategy and planning to the movement of naval assets.

Trade Nodes
Finally, one of the additions to FtC 2.0 which was entirely new – Trade Nodes. These little chunks of ocean territory sat on the edges of the map, each allowing the development of three trade routes with foreign (non-player) entities.
Nodes essentially replaced the previous Trade Card mechanic in the game, bolstering a single team’s resources based on what trade routes they controlled rather than bolstering two teams’ resources because they held a trade agreement between them.
Aside from replacing the existing trade mechanic, nodes were added to provide an extra bit of incentive for players’ to join the naval game. These hotly contested locations on the map could only be established as trade routes by navies. Once a route was setup, it needed to be defended by navies, too. Those which weren’t were quickly plundered by opponents and dismantled.
The mechanical aspect of the nodes was straight-forward – players could place one of their tokens down on an empty trade slot, as a naval action, provided they had a navy present in the node. Likewise, having an uncontested navy in a node meant players could use an action to remove the token of another team, dismantling the trade route.
Trade routes were monitored by the Mod team, with each node delivering special resources or other bonuses (see the final blog, Secrets) to any team which held a route there. The income of nodes changed each season (three turns), so players couldn’t dominate a major income of one resource just by holding the node.
The use of trade nodes was hit and miss – they definitely produced more naval action and friction, giving naval powers something to focus on. On the other hand, once they were claimed (in the first few turns), very few trade routes changed hands. Whether this was due to powerful defences or just a disinterest/disincentivised view of the routes, I’m unsure.
I’m keen to further explore map-based trade in future games.
That's it for now! Tune in for Part III, the final segment of my reflections on For the Crown, where I'll delve into the few secret (and, some, untested) mechanics of the game.
?????????? ????????? ????? ? ????????????: ??????????? ???? ? ??????? ????????
??????? ????????? ????? ? ???????????? [url=https://modulnie-kuhni-novosibirsk.ru/]https://modulnie-kuhni-novosibirsk.ru/[/url] .